> ## Documentation Index
> Fetch the complete documentation index at: https://support.myapps.ai/llms.txt
> Use this file to discover all available pages before exploring further.
# Remove Object
> Remove selected areas from images using mask editing
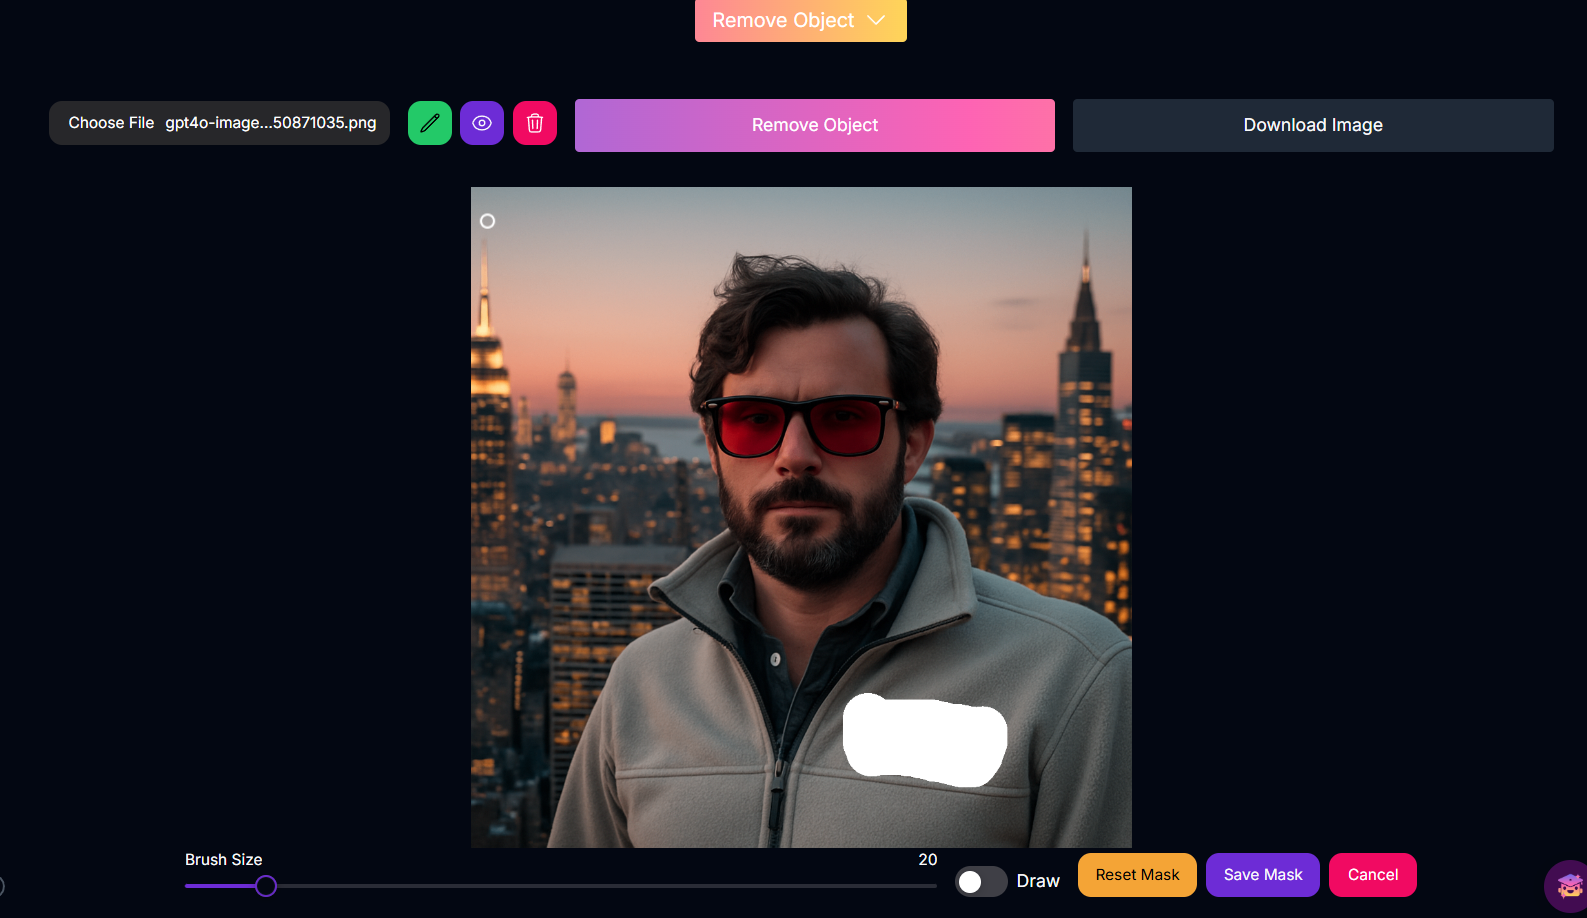 # Remove Object: Effortless Mask-Based Image Cleaning
Clean up your images with precision using Remove Object! Simply mask the areas you want gone, and let the AI intelligently remove and fill them with remarkable consistency.
## Overview
Remove Object is a straightforward yet powerful image editing tool designed for precise object or area removal. Unlike editing methods that rely on complex prompts, this tool utilizes a **mask-based approach**. You simply mark the area you wish to remove directly on the image, and the AI takes care of the rest. It stands out for its **excellent consistency** and **smart fill capability**, which intelligently reconstructs the background behind the removed object, resulting in seamless and natural-looking edits.
Easily remove areas by **drawing a mask** directly on the image.
Focus purely on the visual selection, **no text prompts required**.
Achieve **reliable and predictable results** with each edit.
Intelligently **reconstructs the background** behind the removed object for seamless integration.
## How to Use Remove Object
Follow these simple steps to remove objects or areas from your image:
Upload the image you want to edit.
Use the masking tool provided in the interface to **draw over the exact area** you wish to remove from the image. Be as precise as possible.
Once your mask is drawn, initiate the removal process. The AI will then remove the masked area and intelligently fill the space based on the surrounding image content.
## Tips for Best Results
Draw the mask as accurately as possible around the object or area you want to remove.
The smart fill works best when the area behind the object is relatively simple or consistent.
After removal, review the filled area to ensure it looks natural and seamless.
If the initial fill isn't perfect, try adjusting the mask slightly or processing again.
## Conclusion
Remove Object offers a highly effective and intuitive way to clean up your images by simply masking unwanted areas. Its combination of mask-based editing, high consistency, and smart fill makes it an essential tool for effortless image modification.
***
# Remove Object: Effortless Mask-Based Image Cleaning
Clean up your images with precision using Remove Object! Simply mask the areas you want gone, and let the AI intelligently remove and fill them with remarkable consistency.
## Overview
Remove Object is a straightforward yet powerful image editing tool designed for precise object or area removal. Unlike editing methods that rely on complex prompts, this tool utilizes a **mask-based approach**. You simply mark the area you wish to remove directly on the image, and the AI takes care of the rest. It stands out for its **excellent consistency** and **smart fill capability**, which intelligently reconstructs the background behind the removed object, resulting in seamless and natural-looking edits.
Easily remove areas by **drawing a mask** directly on the image.
Focus purely on the visual selection, **no text prompts required**.
Achieve **reliable and predictable results** with each edit.
Intelligently **reconstructs the background** behind the removed object for seamless integration.
## How to Use Remove Object
Follow these simple steps to remove objects or areas from your image:
Upload the image you want to edit.
Use the masking tool provided in the interface to **draw over the exact area** you wish to remove from the image. Be as precise as possible.
Once your mask is drawn, initiate the removal process. The AI will then remove the masked area and intelligently fill the space based on the surrounding image content.
## Tips for Best Results
Draw the mask as accurately as possible around the object or area you want to remove.
The smart fill works best when the area behind the object is relatively simple or consistent.
After removal, review the filled area to ensure it looks natural and seamless.
If the initial fill isn't perfect, try adjusting the mask slightly or processing again.
## Conclusion
Remove Object offers a highly effective and intuitive way to clean up your images by simply masking unwanted areas. Its combination of mask-based editing, high consistency, and smart fill makes it an essential tool for effortless image modification.
***